
macOS’s new Eject Disk command.

The unique Mac allow you to erase disks proper on the Desktop, with the characteristic returning because of macOS Sequoia. Here is how you can use it.
When the unique Mac was launched in 1984, its desktop allowed customers to carry out widespread actions just by pointing to and clicking on gadgets. This paradigm most individuals at the moment are aware of survives as we speak in macOS and different working methods.
The primary Macs did not have SSD or laborious drives, however used small 3.5-inch floppy disks – small magnetic discs encased in a plastic shell with a sliding steel door for entry. These disks had been often clean with nothing on them, however the unique Mac OS and third-party software program shipped on floppies.
This was even earlier than CD-ROMs had been accessible.
One operate of the unique Mac Finder was to permit the consumer to format or “Erase” disks to be used with the Macintosh File System (MFS) and later, the Hierarchical File System (HFS).
The primary Finder had a Particular menu with an Erase Disk merchandise on it. If the consumer had a floppy disk already mounted on the Desktop, they may choose the disk on the Desktop, choose Particular->Erase Disk and the Finder would erase the disk within the floppy drive.
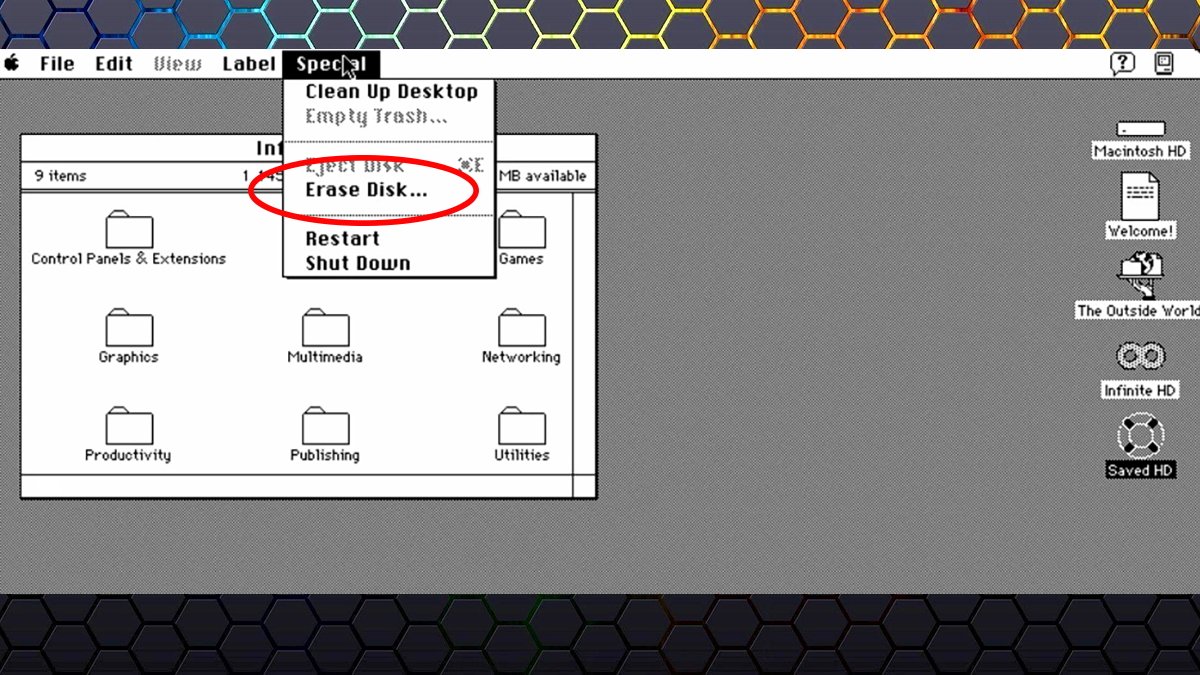
The unique Mac Finder’s Erase Disk command.
Formatting floppies was sluggish, however it labored and allowed customers to retailer small quantities of information on moveable media (400K, 800K, or 1.44MB on 3.5-inch) disks.
For those who booted one of many unique Mac computer systems with none working system put in, the show would merely flash a floppy disk icon with a query mark.
A lot of the first sequence of Macs included inner 3.5-inch floppy drives. Later, Apple offered a number of fashions of the identical drive in an exterior case with a cable to hook up with the again of the Mac.
The final of the beige fashions being the 800K floppy drive.
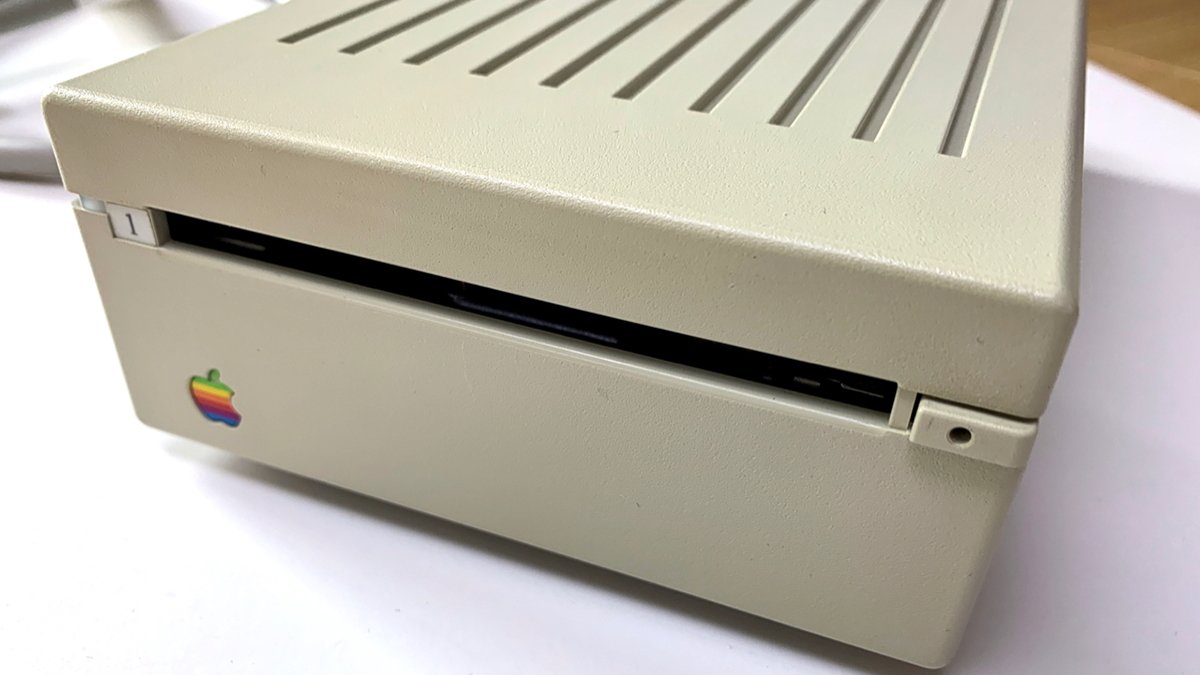
Apple’s 800K “SuperDrive” 3.5-inch exterior floppy drive.
Apple did not ship a 1.44MB exterior floppy till the later PowerBook sequence of laptops. A few of which had inner drives, and an non-compulsory exterior 1.44MB mannequin referred to as the HDI-20.
Erase Disk returns in macOS Sequoia
With the discharge of macOS 15 Sequoia, Apple has introduced again the Erase Disk Finder command, however with a twist.
As an alternative of Erase Disk being on a Finder menu, it is now positioned within the contextual popup menu if you Management-click on a quantity icon on the Finder’s Desktop.
This does not work for disks which can be unformatted for the Mac, nor on volumes which have already been ejected from the Desktop however whose bodily media remains to be linked. For these instances, you will nonetheless want Disk Utility to erase a disk.
Additionally, the brand new Erase Disk Finder command would not work on total bodily units, however solely on volumes already mounted on the Desktop.
Utilizing Erase Disk
To make use of the brand new Erase Disk command in macOS Sequoia, choose any mounted quantity on the Finder’s Desktop and Management-click on it. A popup menu seems and Erase Disk is on the high slightly below Eject Disk:
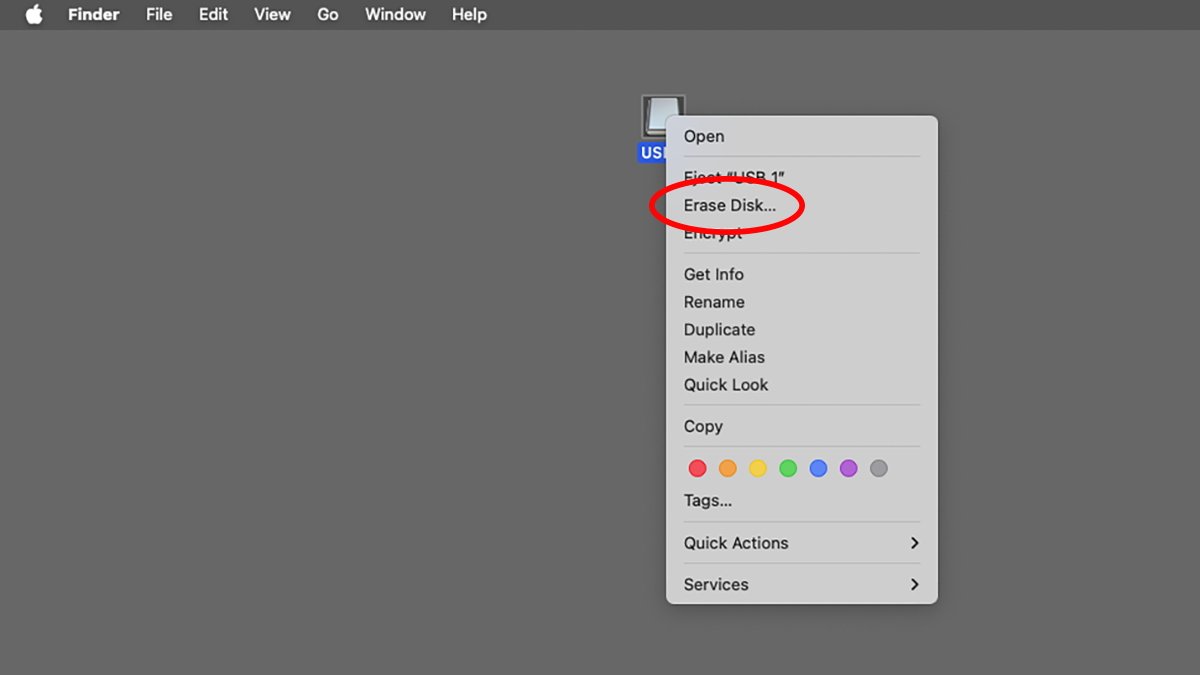
Choose “Erase Disk” from the contextual popup menu.
Choose Erase Disk and you will get a sheet with formatting choices: quantity identify, quantity format, and whether or not or to not make the brand new quantity’s filesystem case-sensitive.
These choices are much like the Erase choices in Disk Utility apart from one extra bonus: now you can format earlier APFS volumes again to different codecs equivalent to HFS+, ExFAT, or FAT32 (MS-DOS) utilizing the brand new Finder command.
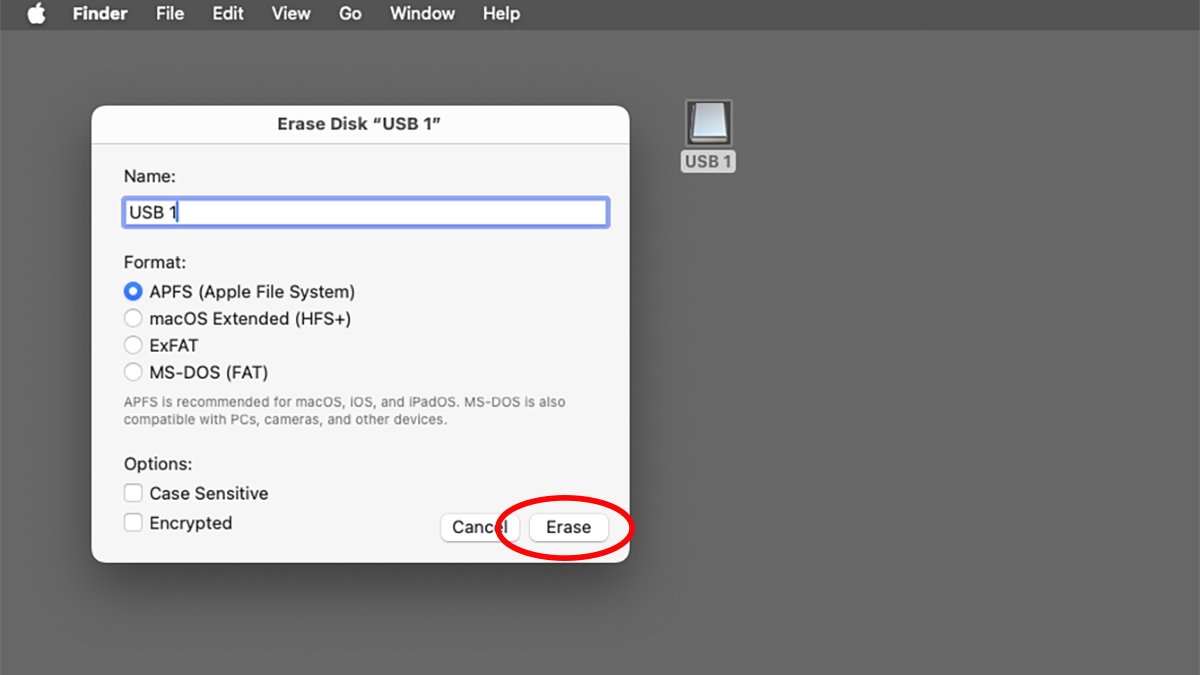
The Finder’s new Erase Disk format sheet.
Click on Erase and you will get a warning asking when you’re positive you need to Erase the disk – similar to the unique Finder used to.
That is to offer you one final probability to again out, when you abruptly determine you did not need to erase the disk.
Click on Erase once more within the alert and the Finder will erase the amount. Until the amount has an enormous measurement, you will not get any progress window throughout formatting – the erase will occur silently.
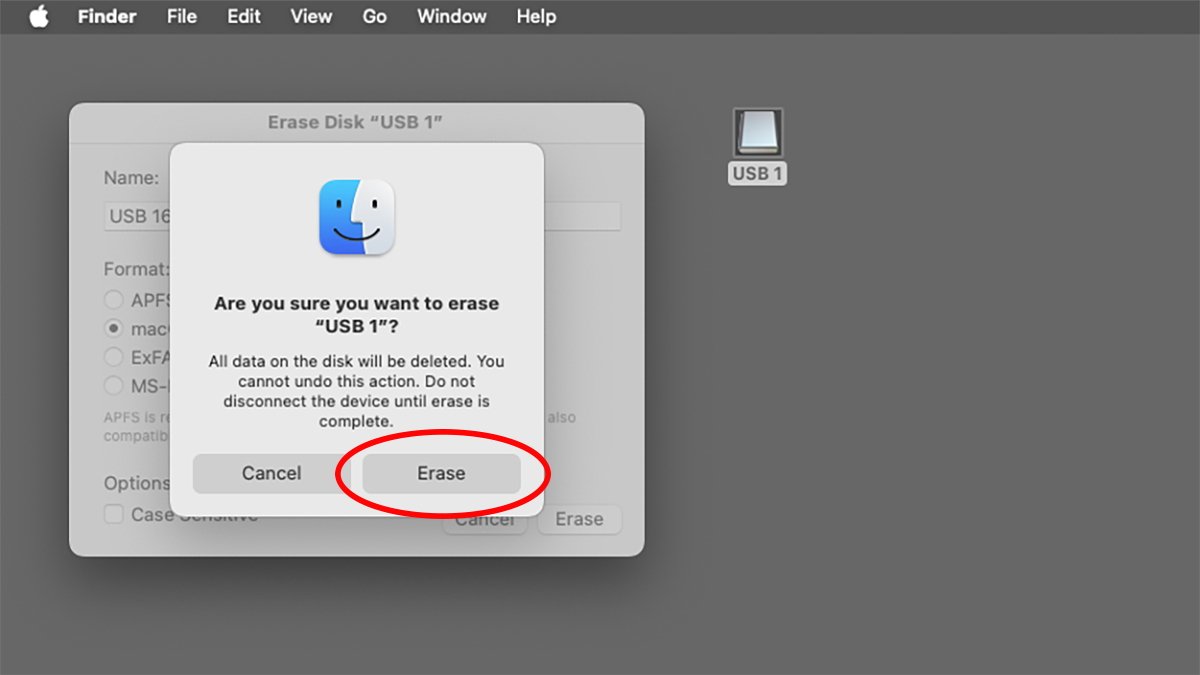
Click on Erase within the alert sheet to Erase the chosen quantity.
As quickly because the erase completes your new disk quantity will mount on the Desktop, prepared to be used.
One cool factor concerning the new Finder Erase characteristic is it is quick – so much sooner than Disk Utility. This can be as a result of the Finder has its personal erase code built-in, or it could simply be that Apple engineers have extremely optimized the code from Disk Utility in Sequoia.
The Erase Disk command made reformatting disks simple within the unique Finder and now that Apple has lastly introduced it again in macOS you will end up saving time too – because you now not must run Disk Utility to reformat storage volumes.