
In iOS 17, Apple launched a brand new framework known as SwiftData to exchange the Core Information framework. Earlier, we now have written an introductory tutorial about SwiftData and confirmed you the way to pair SwiftData with SwiftUI.
Whereas there are quite a few studying sources out there for utilizing SwiftData with SwiftUI, some readers have talked about that discovering complete guides for integrating SwiftData into UIKit apps may be difficult. On this tutorial, we are going to delve into the method of leveraging the capabilities of SwiftData inside the UIKit framework.
A Fast Introduction about SwiftData
To start out off, let’s take a quick tour of the SwiftData framework. It’s vital to know that SwiftData shouldn’t be mistaken for a database itself. As an alternative, it’s a framework constructed upon Core Information, particularly developed to help builders in successfully managing and interacting with information saved persistently. Whereas the default persistent retailer utilized by iOS is often the SQLite database, it’s value noting that persistent shops can are available numerous kinds. As an example, Core Information will also be employed to handle information saved in a neighborhood file, reminiscent of an XML file. This flexibility permits builders to decide on essentially the most appropriate persistent retailer for his or her particular necessities.
Whether or not you go for Core Information or the SwiftData framework, each instruments intention to simplify the intricacies of the underlying persistent retailer for builders. Take the SQLite database, for instance. With SwiftData, there’s no have to concern your self with establishing database connections or delving into SQL queries to retrieve information data. As an alternative, builders can deal with using user-friendly APIs and Swift Macros, reminiscent of @Mannequin, to effectively handle information inside their functions. This abstraction permits for a extra streamlined and intuitive information administration expertise.
When you’ve got used Core Information earlier than, you could do not forget that it’s a must to create an information mannequin (with a file extension .xcdatamodeld) utilizing an information mannequin editor for information persistence. With the discharge of SwiftData, you now not want to try this. SwiftData streamlines the entire course of with macros, one other new Swift characteristic in iOS 17. Say, for instance, you already outline a mannequin class for Tune as follows:
class Tune {
  var title: String
  var artist: String
  var album: String
  var style: String
  var ranking: Double
}
To make use of SwiftData, the brand new @Mannequin macro is the important thing for storing persistent information utilizing SwiftUI. As an alternative of constructing the information mannequin with mannequin editor, SwiftData simply requires you to annotate the mannequin class with the @Mannequin macro like this:
@Mannequin class Tune {
  var title: String
  var artist: String
  var album: String
  var style: String
  var ranking: Double
}
That is the way you outline the schema of the information mannequin in code. With this straightforward key phrase, SwiftData mechanically permits persistence for the information class and provides different information administration functionalities reminiscent of iCloud sync. Attributes are inferred from properties and it helps fundamental worth varieties reminiscent of Int and String.
SwiftData means that you can customise how your schema is constructed utilizing property metadata. You possibly can add uniqueness constraints by utilizing the @Attribute annotation, and delete propagation guidelines with the @Relationship annotation. If there are particular properties you do not need included, you need to use the @Transient macro to inform SwiftData to exclude them. Right here is an instance:
@Mannequin class Album {
  @Attribute(.distinctive) var title: String
  var artist: String
  var style: String

  // The cascade relationship instructs SwiftData to delete all
    // songs when the album is deleted.
  @Attribute(.cascade) var songs: [Song]? = []
}
To drive the information persistent operations, there are two key objects of SwiftData that you have to be accustomed to: ModelContainer and ModelContext. The ModelContainer serves because the persistent backend on your mannequin varieties. To create a ModelContainer, you merely have to instantiate an occasion of it.
// Fundamental
let container = strive ModelContainer(for: [Song.self, Album.self])

// With configuration
let container = strive ModelContainer(for: [Song.self, Album.self],
                                    configurations: ModelConfiguration(url: URL("path"))))
In UIKit, you’ll be able to instantiate the context for a given mannequin containers like this:
let context = ModelContext(modelContainer)With the context, you might be able to fetch information. You should utilize the brand new #Predicate macro to construct predicates. Right here is an instance:
// Specify all of the songs whose style is "Pop"
let songPredicate = #Predicate { $0.style == "pop" }
When you outline the factors for fetching, you need to use the FetchDescriptor and inform the mannequin context to fetch the information.
let descriptor = FetchDescriptor(predicate: songPredicate)

let songs = strive context.fetch(descriptor)
To insert merchandise within the persistent retailer, you’ll be able to name the insert methodology of the mannequin context and cross it the mannequin objects to insert.
modelContext.insert(track)Equally, you’ll be able to delete the merchandise through the mannequin context like this:
modelContext.delete(track)This serves as a quick introduction to SwiftData. For those who’re nonetheless feeling uncertain about the way to make the most of SwiftData, there’s no want to fret. You’ll acquire a transparent understanding of its utilization as we’ll construct a easy To-do app utilizing UIKit and SwiftData.
Constructing a Easy To-do App with SwiftData and UIKit
I’ve already developed a fundamental to-do app utilizing UIKit. Nonetheless, the present implementation solely shops the to-do gadgets in reminiscence, which implies the information is just not persistent. With a view to tackle this limitation, our subsequent step is to switch the app and change from utilizing in-memory arrays to leveraging the facility of SwiftData for storing the to-do gadgets in a database. This enhancement will be certain that the to-do gadgets are saved persistently, permitting customers to entry them even after closing the app.
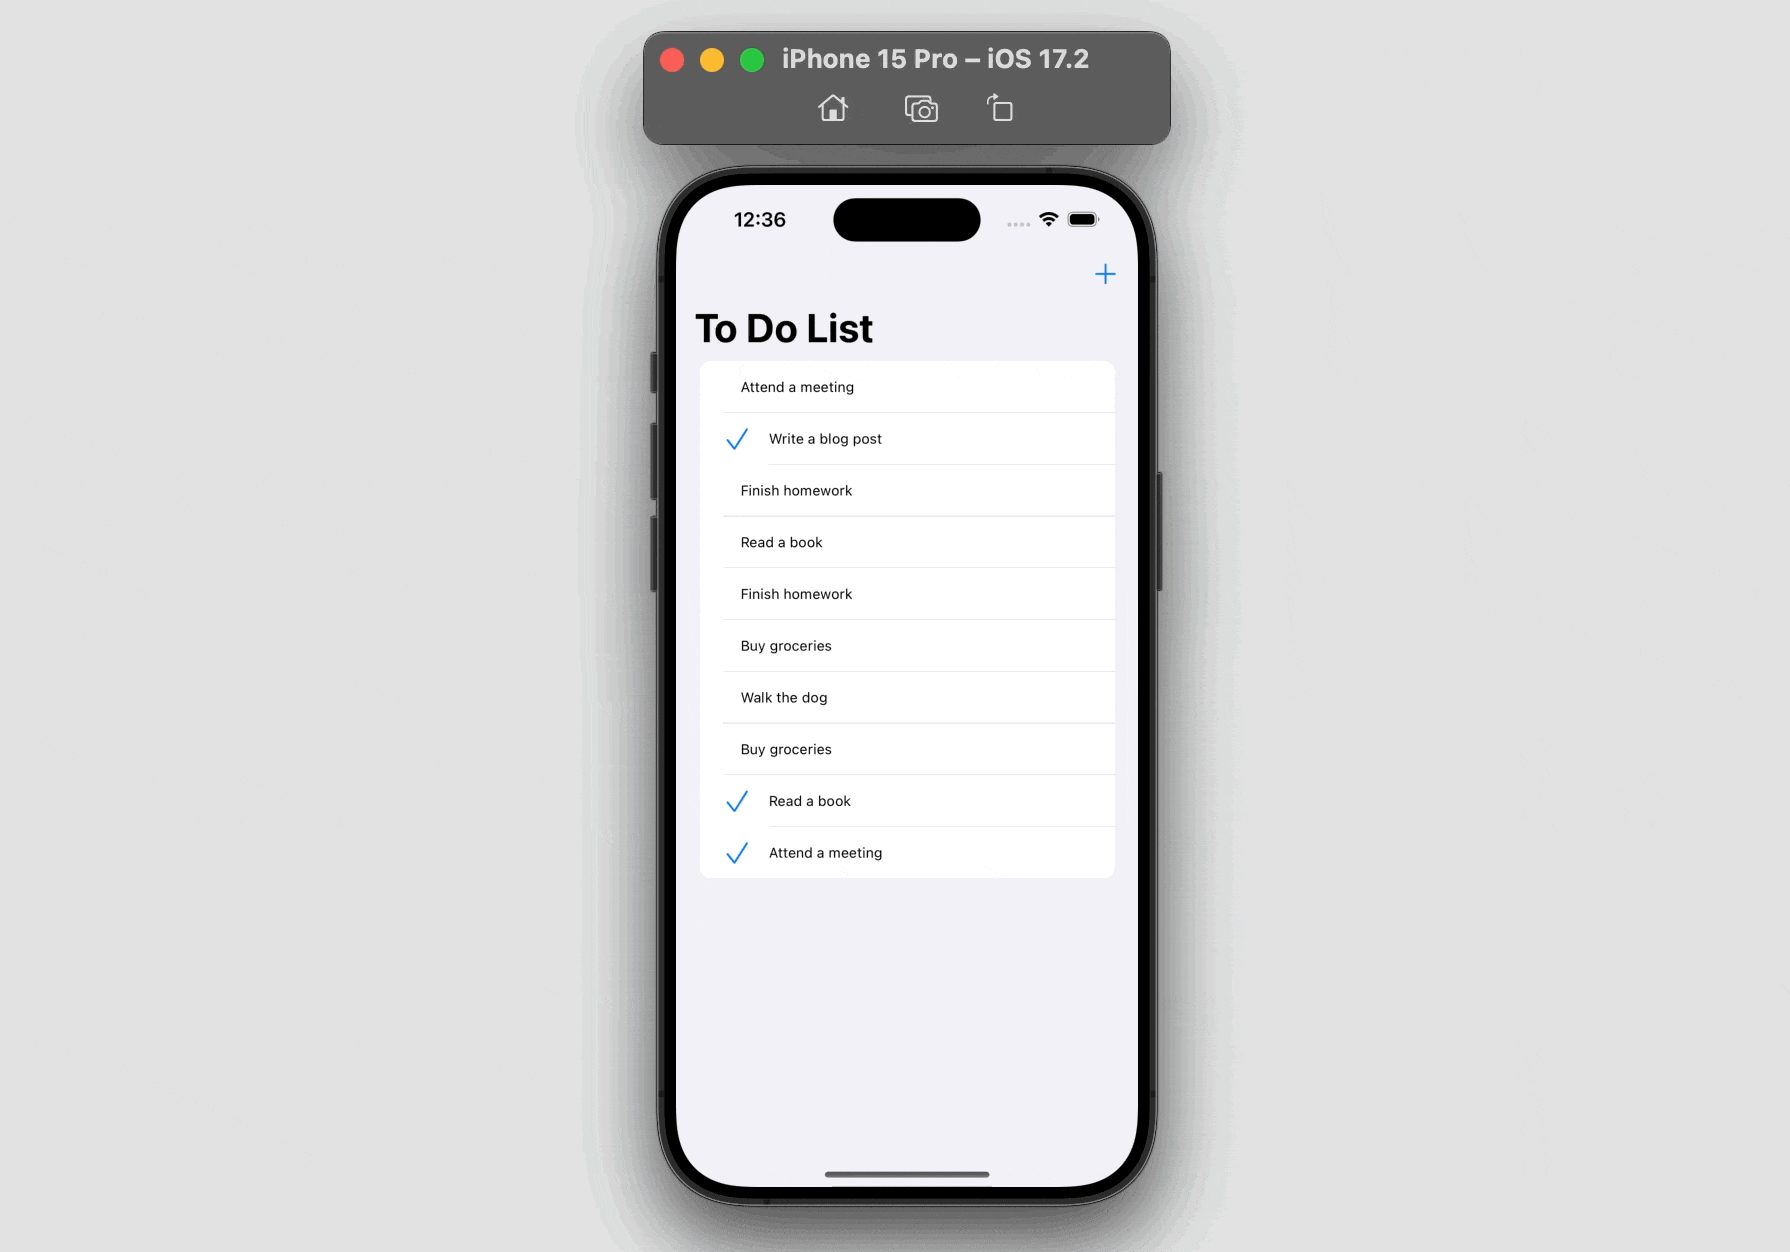
For demo objective, the present model of this app doesn’t present the performance for customers so as to add their very own to-do gadgets. As an alternative, customers can solely add a random to-do merchandise by tapping the “+” button. Nonetheless, customers can nonetheless modify the standing of the present merchandise and delete it by swiping.
Utilizing @Mannequin for the mannequin class
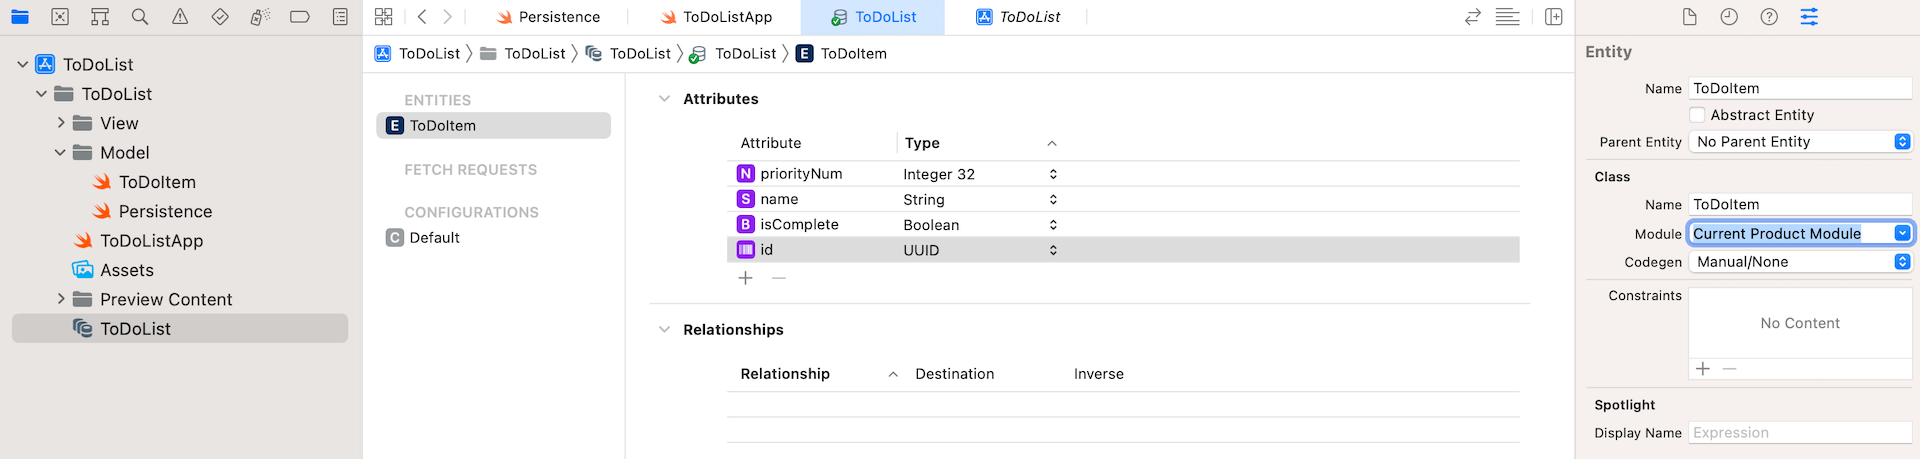
The in-memory model of the app already defines a struct for ToDoItem:
struct ToDoItem: Identifiable, Hashable {
    var id: UUID
    var title: String
    var isComplete: Bool

    init(id: UUID = UUID(), title: String = "", isComplete: Bool = false) {
        self.id = id
        self.title = title
        self.isComplete = isComplete
    }
}
To make use of SwiftData, we are able to convert this struct to class and annotate it with the @Mannequin macro like this:
import SwiftData

@Mannequin class ToDoItem: Identifiable, Hashable {
    var id: UUID
    var title: String
    var isComplete: Bool

    init(id: UUID = UUID(), title: String = "", isComplete: Bool = false) {
        self.id = id
        self.title = title
        self.isComplete = isComplete
    }
}
As you’ll be able to see, the one factor that we have to do to make a category work with SwiftData is to prefix it with @Mannequin. SwiftData then mechanically permits persistence for the information class.
Saving To-Do Objects into Database
Within the demo app, we now have the ToDoTableViewController class to deal with the rendering of the to-do desk view, in addition to, the random creation of the to-do gadgets. To handle information with SwiftData, we first create a variable to carry the mannequin container:
var container: ModelContainer?Within the viewDidLoad methodology, we are able to add the next line of code to instantiate the mannequin container:
container = strive? ModelContainer(for: ToDoItem.self)For including a random to-do merchandise, the demo app already had a way named addToDoItem:
@IBAction func addToDoItem(sender: UIBarButtonItem) {
    todoItems.append(generateRandomTodoItem())
    updateSnapshot(animatingChange: true)
}
We known as up the generateRandomTodoItem methodology to get a to-do merchandise and append it to the todoItems array. Then we name up the updateSnapshot methodology to replace the desk view.
With a view to save the to-do merchandise completely, we are able to substitute the code like this:
@IBAction func addToDoItem(sender: UIBarButtonItem) {
    container?.mainContext.insert(generateRandomTodoItem())
    fetchToDoItems()
}
As an alternative of merely including the to-do merchandise to the array, we make the most of the insert methodology of the container’s context to avoid wasting the merchandise into the inner database.
Fetching Information from Database
The implementation of the fetchToDoItems methodology is pending for the time being. To retrieve information from the database, we have to create an occasion of FetchDescriptor. This permits us to specify the information sort we wish to retrieve and outline any particular search standards if crucial. By using the FetchDescriptor, we are able to successfully retrieve the specified information from the database. After organising the fetch descriptor object, we are able to proceed to name the fetch methodology of the container’s context and supply the descriptor as an argument. SwiftData will then make the most of this data to retrieve the to-do gadgets accordingly from the database.
Insert the next code snippet to create the fetchToDoItems methodology:
func fetchToDoItems() {
    let descriptor = FetchDescriptor()

    todoItems = (strive? container?.mainContext.fetch(descriptor)) ?? []

    updateSnapshot()
}
As soon as we retrieve all of the to-do gadgets, we have to invoke the updateSnapshot methodology to replace the desk view.
Deleting Information from Database
Within the pattern app, we now have a swipe motion for deleting a row merchandise like this:
let deleteAction = UIContextualAction(model: .damaging, title: "Delete") { (motion, sourceView, completionHandler) in

    var snapshot = self.dataSource.snapshot()
    snapshot.deleteItems([todoItem])
    self.dataSource.apply(snapshot, animatingDifferences: true)

    // Name completion handler to dismiss the motion button
    completionHandler(true)
}
For now, it solely removes a to-do merchandise from the desk view however not the database. To fully delete the merchandise from database, we have to insert a line of code within the closure:
self.container?.mainContext.delete(todoItem)By calling the delete methodology and offering the related merchandise, SwiftData will handle eradicating the desired merchandise from the database, making certain that it’s now not persevered in our app’s information storage.
That is how we migrate the to-do app from utilizing in-memory storage to database utilizing SwiftData.
Abstract
By following the steps outlined above, we efficiently migrated the to-do app from utilizing in-memory storage to using a database with the assistance of SwiftData. As demonstrated, the mixture of the @Mannequin macro and SwiftData framework simplifies the method of incorporating a database into an app.
We hope that via this tutorial, you now possess a clearer understanding of the way to combine SwiftData right into a SwiftUI mission and carry out important CRUD (Create, Learn, Replace, Delete) operations. Apple has invested vital effort in making persistent information administration and information modeling extra accessible for Swift builders, together with newcomers to the language.
With SwiftData, you will have a strong device at your disposal to deal with information storage and retrieval effectively. We encourage you to discover additional and leverage the capabilities of SwiftData to boost your app improvement journey.